A Leather Motorcycle Jackets supplier quotes you $0.18 per hole on laser perforation. Another comes back with mechanical punching at half that price. On a 1,000 motorcycle jacket bulk order, one option protects your margin. The other leaves you with cracked edges and a 12% return rate three months later.
For motorcycle leather, die-cut perforation, mechanical punch perforation, and CNC laser cutting each change your cost-per-unit, your production timeline, and how that jacket holds up after 500 miles in July heat. Match hole precision, edge finish, and airflow performance to your leather thickness, your order volume, and what your buyer actually needs. We'll break down the numbers your next Leather Motorcycle Jackets supplier quote should be able to answer.
Production Decision Matrix: Mechanical Punching vs Die-Cut Perforation vs CO₂ Laser
Mechanical punch perforation wins when the jacket panel is mostly holes, volumes are high, and hole size stays standard. Turret punch presses hit 500–1,000 holes per minute, and on the round-hole perforation patterns common to summer motorcycle jacket cooling designs, that's roughly 10x the speed of a CO₂ laser cutting holes in leather. For a run with up to 30,000 holes across a batch, punching can deliver two finished parts in the time a laser finishes one.
Die-cut perforation takes the lead when your pattern is fixed and repeatable, like the same ventilation grid across every size run in a season's collection. Tooling costs $500–$5,000 per die, but once amortized, per-piece cost drops to $0.05–$0.15, compared to $0.50–$2.00 for laser work on identical geometry. If your buyer isn't asking for design changes mid-order, die-cutting beats laser on pure economics.
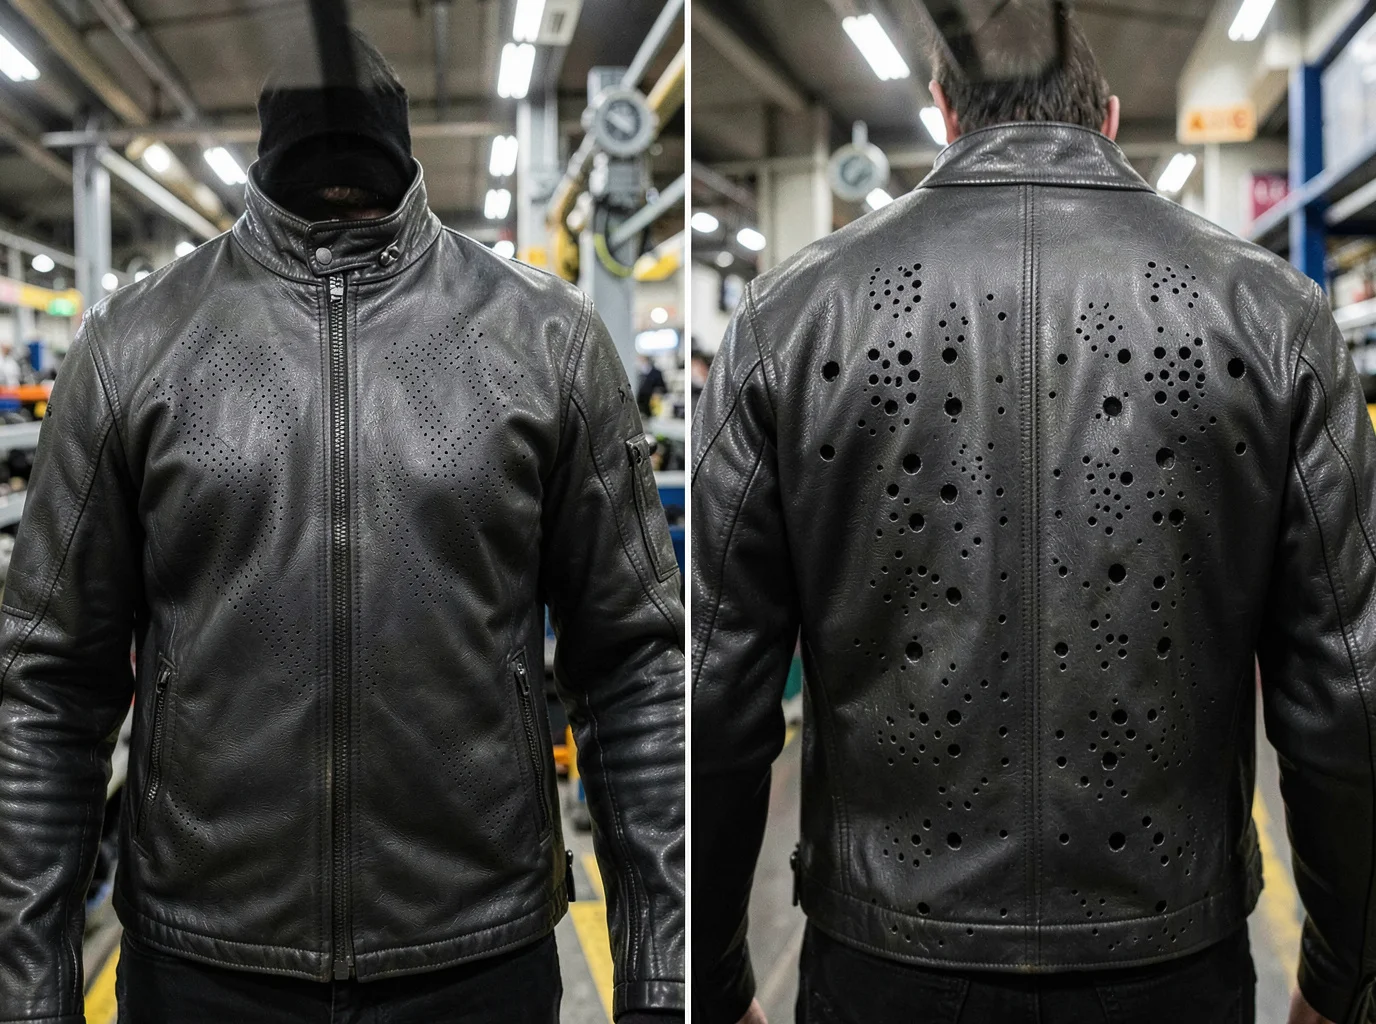
CNC perforated leather via CO₂ laser is worth its premium where tooling falls short. You get zero setup cost, no tool wear, and the ability to switch hole patterns between orders without retooling, at a per-piece cost of $0.50–$5.00. Laser also holds tighter geometric control on complex contours and perimeter-heavy panels, areas where a punch die can't flex.
Accuracy numbers matter for buyer specs. Mechanical punching holds ±0.05mm positional accuracy, with hole-to-hole spacing as tight as ±0.025mm. The tool fixes the tolerance, so it doesn't depend on the operator. Laser typically runs ±0.05 to ±0.1mm. Because the contour defines the tolerance, accuracy holds steady even as the design changes shape.
Match your order profile to the matrix. High-volume standard grids go to punch or die-cut; low-volume, design-heavy, or micro-perforated runs go to laser.
Cost, Tooling, and Production-Rate Comparison for Supplier Quotes
Every quote you get boils down to one formula: Total Cost equals Tooling Cost plus Piece Price times Quantity. If a Leather Motorcycle Jackets factory can’t give you their numbers this way, push back before you sign.
Tooling investment depends on your production tier.
Rapid aluminum dies for die-cut perforation leather: $1,500–$5,000, first parts in about 14 days.
Production steel dies: $8,000–$30,000, standard lead time 6–10 weeks.
Multi-cavity tooling for parallel jacket panels: $5,000–$15,000+.
High-volume hardened steel dies (100,000+ cycles): $30,000–$100,000+.
Piece price moves inversely. Low-volume runs land at $0.50–$5.00/part. Production steel tooling drops that to $0.50–$2.00/part once amortized. Tooling itself typically represents 5–15% of total landed cost on a leather jacket manufacturing process running normal batch sizes.
MOQ math matters. Most factories want tooling cost recovered in 1–3 production runs. A $10,000 die with $0.20/part margin usually means the supplier needs 5,000–10,000 units to justify quoting you a low piece price at all. Ask for their sample lead time too — expect 10–15 business days for a T1 sample, and 20–28 days to get 1,000 finished pieces in hand including air freight.
On every quote, demand tooling type and cavity count, expected annual volume, MOQ and destination, tooling lead time, and production lead time after sample approval. Without them, you’re comparing guesses, not perforated leather durability or real production-rate performance.
Hole Precision, Registration, and Edge-Finish Results
Hole quality splits into diameter, position, roundness, and burr condition. A Leather Motorcycle Jackets vendor can nail one while missing the other three. A hole can measure on-size and still sit 0.3mm off from where your pattern called for it. On a finished panel, that mismatch shows up as a crooked ventilation row, even though every individual hole passes a caliper check.
Position, often called registration, is tighter on laser than on mechanical punching. Standard sheet-metal benchmarks give laser-cut holes ±0.005–0.010 in. and punched holes ±0.010–0.015 in. Hole-to-hole spacing on the same panel tightens further, to roughly ±0.005 in., once tooling and fixturing are dialed in, regardless of which method cut the hole. For CNC-drilled and reamed work at precision tiers, ⌀0.05–0.25mm positional tolerances are standard, with ±0.13mm cited as a common general spec across manufactured parts.
Edge finish shows whether the tooling is good. One measured production run reported burr height under 0.08mm, visually clean and requiring no deburring pass afterward. Request burr height in millimeters from your supplier, not “clean edge” typed into a sales email.
Fixturing controls registration more than the cutting method itself. One tolerance-aware setup, a 6mm drill paired with an 8mm reamer targeting a 0.08mm positional tolerance, achieved 0.073mm positional error in testing. Ask your supplier which datum scheme and work offsets they lock down on your leather jacket hole pattern before the first hole gets cut, not after the run ships.
Compatibility With 1.2–1.8 mm Motorcycle Jacket Leather
Leather thickness determines which perforation method actually works without damaging the material. Pick the wrong pairing, and you're reworking a batch instead of shipping it.
1.2mm is the low end for street riding. It's the minimum most Leather Motorcycle Jackets manufacturers accept for meaningful abrasion protection, and it punches cleanly under mechanical dies without tearing. Laser cuts it just as well, though at this thickness heat-affected zones appear faster if pulse settings run too hot.
1.3–1.4mm covers most motorcycle jackets, cowhide included. The Detlev Louis DL-JM-14 spec sits right in this band. At this thickness punch tooling gets enough material to bite cleanly, and the laser gets enough mass to avoid scorching through.
1.5–1.6mm leather, common on track-oriented jackets, needs more punch tonnage or slower laser feed rates. Both methods work, but edge quality drops faster without adjustment.
1.8mm is heavy, closer to racing-spec gear than standard riding jackets. Mechanical punching risks die wear here. Laser needs multiple passes, which slows throughput and raises per-piece cost.
Before you settle on a perforation method, measure the actual thickness of the leather, not the spec sheet number. Full-grain or top-grain cowhide in the 1.2–1.4mm range, paired with CE armor, is the baseline riders expect. That's the range every tooling decision should start from.
Airflow, Hole Density, and Perforated Leather Durability
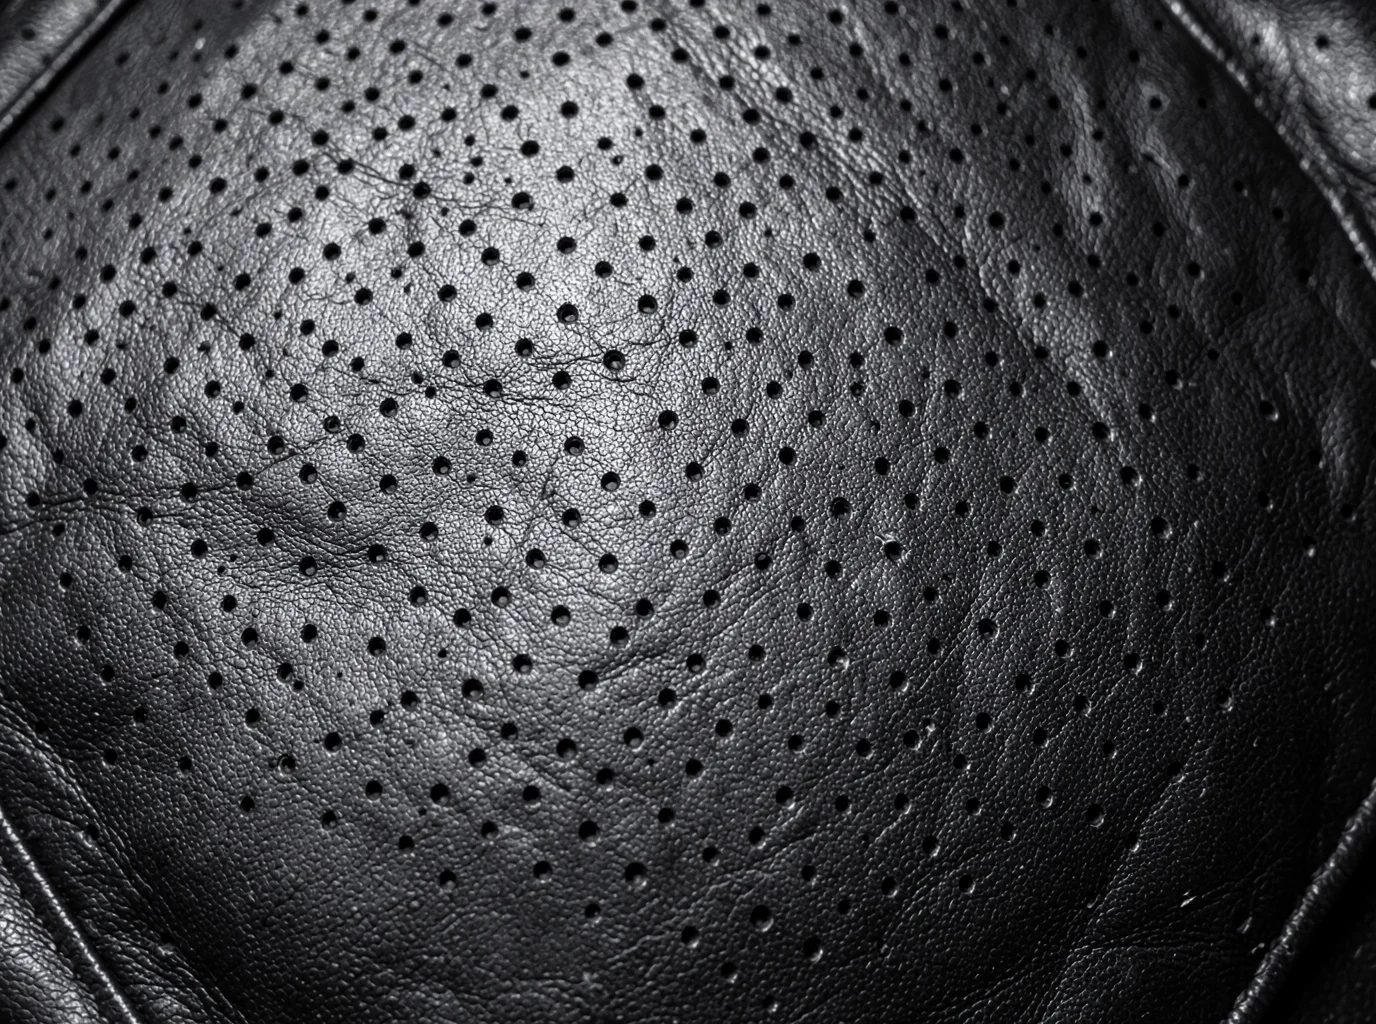
More holes doesn't mean more airflow. Past a certain point, you're just weakening the leather for no cooling benefit.
Engineered ventilation zones run 12–22 holes/cm², or roughly 120–180 holes/in². Premium OEM automotive specs sometimes push past 200 holes/in². Hole diameter usually sits between 0.5–1.5mm, with the tightest specs clustering around 0.8–1.2mm. At that density, perforated leather tested at 22–34 CFM at 125 Pa—nearly double the 12–18 CFM measured on Alcantara in the same comparison.
But performance plateaus above about 120 holes/in². Push density higher, and durability starts paying the price, not airflow.
Spacing decides how much tear strength survives. Top-grain leather holds 92% of original tear resistance with holes spaced 2.5mm or more apart. Tighten that to 1.2mm, and tear resistance drops to 76%.
Abrasion tells the same story. Perforated leather runs 28,000–42,000 Martindale cycles, well below the 50,000–75,000 cycles non-perforated leather withstands. Rotary-punched panels can lose 22% of effective airflow within 18 months, with micro-cracks showing up around 35,000km in budget builds. Controlled hole size beats maximum hole count every time.
Which Method Fits Racing, Touring, and Custom Jacket Orders
Order type drives your perforation and finishing decisions as much as leather thickness does. Racing, touring, and custom runs each carry different MOQ thresholds, lead times, and decoration needs. Match those first, then layer your hole pattern on top.
Racing jackets run artwork-heavy and low-volume. Sublimation handles unlimited colors at 1–25 pieces depending on supplier, making it the go-to for racing-style graphics. Screen printing starts at 100 pcs per style/colorway, and embroidery covers logos and patches on top of either. If your batch is small and design changes often, pair laser-perforated panels with sublimation rather than committing to die tooling you'll use once.
Touring jackets favor cut-and-sew OEM builds with woven labels, custom linings, and optional embroidery. MOQs cluster around 50–100 pcs, with bulk lead times of 25–45 days after sample approval. That window lines up well with production steel die-cut tooling if your ventilation grid stays fixed.
Custom jacket orders want flexibility over volume. Low-MOQ OEM/ODM programs start at 50–100 pcs, sampling runs 7–14 days, and bulk production lands in 25–45 days.
Decision rule:
- Racing, artwork-heavy → sublimation + embroidery, laser-perforated panels.
- Touring, retail-ready → OEM cut-and-sew + embroidery, die-cut or punched panels.
- Small custom launch → 50–100 pcs OEM/ODM, laser for pattern flexibility.
- Large team/club graphics → screen print at 100+ pcs, die-cut perforation for cost control.
1,000-Jacket Order: Laser Versus Mechanical/D die Production Model
Run the numbers on 1,000 jackets, and laser wins. Apparel tooling logic sets the die-cutting break-even point at roughly 10,000+ identical pieces. Below that, you're paying for tooling you'll never fully amortize. At 1,000 units, you're well under that threshold, so laser cutting leather holes carries the lower total cost, even at a higher per-piece price.
Why the math favors laser
Die cutting demands a custom die before you cut hole one. That's tooling cost sitting on your books before a single jacket ships. Laser skips that step entirely. It's file-driven, so setup cost stays low and you can adjust the pattern between batches without touching a tool.
That flexibility matters. Laser fits complex shapes, rapid sampling, and synthetic panels needing sealed, fray-free edges. Die cutting suits simple, repeated shapes at bulk volume where the design won't change for years.
Precision gap in apparel-specific applications
One sportswear benchmark puts laser tolerance at ±0.03–0.1mm against ±1mm for mechanical cutting. That's not a small edge. Mechanical work at that tolerance usually needs a secondary finishing pass, adding labor and time laser skips.
Sourcing reality check
Most cut-and-sew factories publish MOQs of 150–300 pieces domestically, 300+ overseas. A 1,000-jacket order clears those minimums easily. It's commercially viable, but still far short of die-tooling territory.
Decision rule for your order
Choose laser if this is one-time production, you're revising the design, running multiple sizes or styles, or you can't absorb small-batch risk. Choose mechanical/die only if repeat demand is locked in, the geometry stays simple and identical run after run, and future volume justifies the tooling spend.
At 1,000 pieces, unless you know this exact jacket reorders at scale, laser is the safer production model.
Production Inspection and Supplier Quote Requirements
A quote without an inspection plan is a guess dressed up as a number. Before a supplier prices your perforated leather jacket order, you need to spell out the first article inspection (FAI), CMM reporting requirements, and per-drawing inspection scope. Those decisions affect routing and price, so put them in the RFQ, not in emails after production starts.
What your RFQ needs to include:
Revision-controlled drawing and CAD model (STEP/STP)
Material grade, thickness (1.2–1.8mm), and certification requirement
Critical tolerances, hole pattern GD&T, and edge-finish spec
Quantity breaks and annual demand estimate
Inspection reports required, including FAI
Quote deadline, delivery date, packaging, Incoterms, currency
Adjust inspection depth to match the production stage. For a new supplier or a new revision run, require FAI, a full dimensional report, and material certs. For routine production, use in-process checks, final inspection, and a sampling plan. If you have complex geometries or high-risk features, use CMM inspection with 100% checks on critical dimensions.
Compare quotes apples-to-apples – same spec, same quantity, same packaging, same destination. Anything less and you're comparing assumptions, not suppliers.
Lock an approved golden sample, an acceptable defect tolerance, and who pays for rework before production starts. Skip that step, and a 12% return rate becomes your problem.
Conclusion
There's no universal winner between die-cut perforation, mechanical punch, and laser cutting — the right fit depends on your order size, leather thickness, and budget. Laser cutting wins on precision and clean edges for premium racing jackets under 500 units. Mechanical punch perforation is the most cost-effective once you cross 1,000-unit runs on standard 1.2–1.5mm hides. Die-cut sits in the middle, ideal when the tooling investment makes sense for repeat touring-jacket orders.
Don't let a Leather Motorcycle Jackets wholesaler quote you blind. Request per-square-foot pricing, hourly production rates, and edge-finish samples across all three methods before signing off. That comparison alone can save you thousands on a 1,000-jacket run.
Perforation is the manufacturing decision that determines whether your summer jacket line breathes, sells, and survives its first hard season on the road.